Over, under, inside and behind: Clean these often-neglected areas and your house will look and feel better
With the sun finally peeking out after a long, cold winter, freshening your house with a deep spring cleaning can feel really good. If you’re ready to go beyond the basic vacuum-and-mop weekly clean, pick and choose from these 20 deep-cleaning tasks, and get ready to enjoy your sparkling clean house.
1. Light fixtures and lamps. Ceiling-mounted light fixtures, fans and table lamps can accumulate an amazing amount of dust over time — which can dull the surface and block light. Get your light fixtures gleaming with a soft microfiber cloth or duster.
2. Doors, knobs and handles. It should take only a few minutes to go around the house giving knobs and handles a quick swipe with the cleaning product of your choice, but this little task can really make your space look cleaner. Give the front door some extra love by cleaning it inside and out with warm, soapy water on a well-wrung-out soft sponge, and dry it with a soft cloth.
3. Wall scuffs and dings. Using a damp, soft cloth and a bit of dish soap, or a product (like Magic Eraser), swipe off scuff marks. Fill any dings in the wall and touch up with paint.
4. Tops of window frames. The
baseboards are more likely to get cleaned during a cleaning spree, but
what about the higher spots? Get out the stepladder and (carefully) get
to work wiping away built-up dust and grime from the tops of window
frames and upper moldings.
5. Bookshelves. Shelves full of books and decorative objects can become quite dusty. Working shelf by shelf, remove the objects from one section, dust and return them. For bonus points, declutter your book (and decor) collection as you go.
5. Bookshelves. Shelves full of books and decorative objects can become quite dusty. Working shelf by shelf, remove the objects from one section, dust and return them. For bonus points, declutter your book (and decor) collection as you go.
6. Underneath area rugs. Move
the furniture aside, roll up the rug and rug pad, and vacuum
underneath. It sounds like a lot of work, but when you see what’s under
there, you might be inspired to do this more frequently!
7. Picture frames and mirrors. Clean the glass fronts of picture frames and mirrors, and wipe away dust from the frames. Don’t spray picture frames, since liquid can potentially get in and damage the photo or artwork; use a barely dampened glass-cleaning cloth instead.
8. Upholstered furniture. Get out the vacuum attachments and vacuum upholstered furniture, including under and between cushions. Rotate sofa cushions when possible for more even wear.
9. Oven and range hood.
If you are want to avoid nasty oven cleaners, a thick paste of baking
soda and water applied and left on overnight can do the trick — wipe it off with hot
water the next day. Grease and dust tend to accumulate on the range
hood. Stand on a step stool so you can see what you’re doing, and clear
away the gunk using warm, soapy water.
10. Small appliances. Spiffing up your microwave, toaster, blender and mixer doesn’t take long at all, but the cumulative effect of gleaming small appliances will make your kitchen really shine.
11. Grout. Light-colored grout looking icky? Remove grout discoloration and stains by scrubbing with oxygenated bleach.
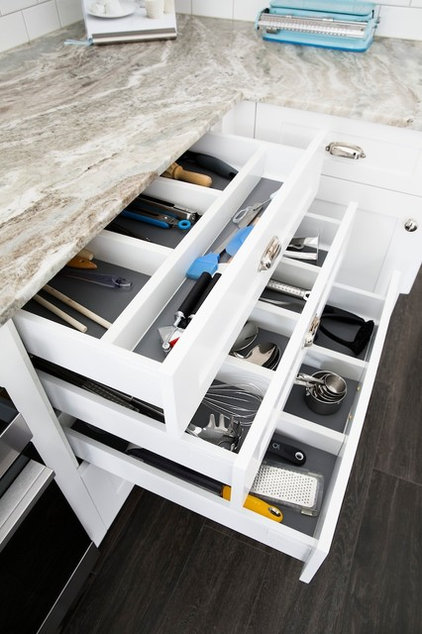
12. Inside kitchen drawers. Never
mind how the crumbs got in there; the important thing is to give your
drawers a fresh start now. Remove everything, wipe out the drawers and
return the items.
13. Food storage jars. Storing dry goods in sealed storage jars can help them stay fresh longer and prevent bug problems. But that doesn’t mean the stuff in your jars will never go bad. Inspect the contents of your canisters for freshness, check expiration dates and toss old or stale food. In the future remove the last bits of food (for instance, flour) before filling the canister with fresh food, then put the old bit back on top where it will get used up first.
13. Food storage jars. Storing dry goods in sealed storage jars can help them stay fresh longer and prevent bug problems. But that doesn’t mean the stuff in your jars will never go bad. Inspect the contents of your canisters for freshness, check expiration dates and toss old or stale food. In the future remove the last bits of food (for instance, flour) before filling the canister with fresh food, then put the old bit back on top where it will get used up first.
14. Underneath beds and behind furniture. Instead
of sticking with the easy-to-reach spots when you vacuum this time,
really get in there and hit the hidden, tucked-away places where dust
goes to hide. Any allergy sufferers in your household will be grateful
for the extra effort!
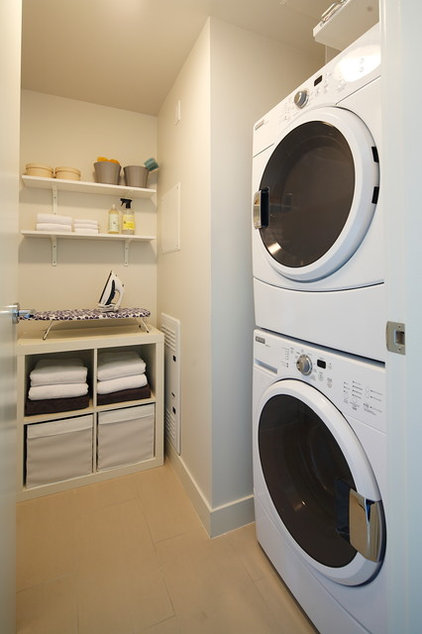
15. Laundry room dust. What
is it about the laundry room? The areas on top of and around the washer
and dryer tend to be some of the dustiest in the house. Vacuum around
the appliances and wipe down the surfaces.
16. Vents and hoses. If you don’t want to get in there and clean out your dryer hose yourself, hire a pro (HVAC pros may offer this service) to do it for you. Whichever method you choose, it is important to get it done, because lint buildup inside your dryer and hose can potentially cause a fire.
16. Vents and hoses. If you don’t want to get in there and clean out your dryer hose yourself, hire a pro (HVAC pros may offer this service) to do it for you. Whichever method you choose, it is important to get it done, because lint buildup inside your dryer and hose can potentially cause a fire.
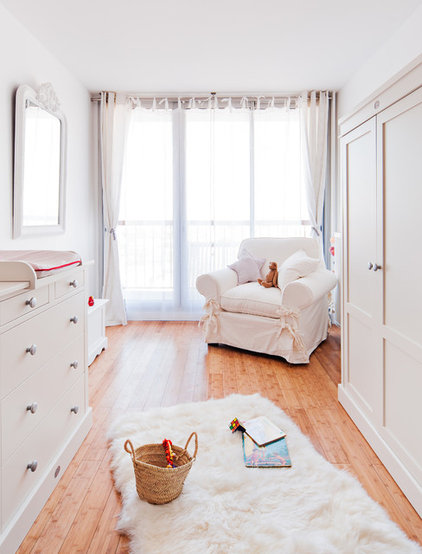
17. Kids’ toys. Little ones — especially toddlers who are still exploring the world by putting things in their mouths —
can benefit from regular cleaning of toys, particularly when colds are
going around. Hard plastic toys can get dunked in warm, soapy water
(kids usually enjoy helping with this); most soft toys can handle a
gentle wash in the machine (but be sure to check labels first). “Loveys”
and special stuffed animals should be hand washed and air dried, just
to be on the safe side.
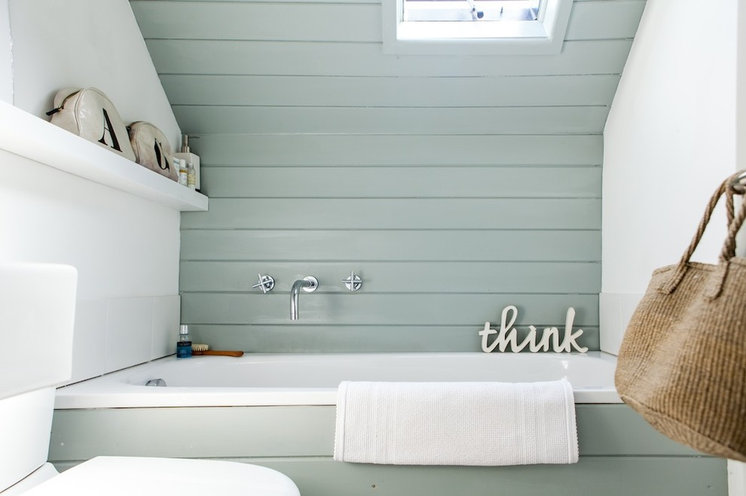
18. Shower and tub walls. It’s natural to focus more on the tub floor when doing a light cleaning of the bathroom,
but the walls can get just as much soap scum buildup. To maximize the
cleaning power of whatever product you like to use, leave it on for at
least 10 minutes before scrubbing.
19. Bathroom shelves. Shampoo, lotions and soaps can leak onto shelves in the medicine cabinet and beneath the sink. Give your bathroom a fresh start by removing all products, wiping down the shelves and returning only the items you use.
19. Bathroom shelves. Shampoo, lotions and soaps can leak onto shelves in the medicine cabinet and beneath the sink. Give your bathroom a fresh start by removing all products, wiping down the shelves and returning only the items you use.



No comments:
Post a Comment